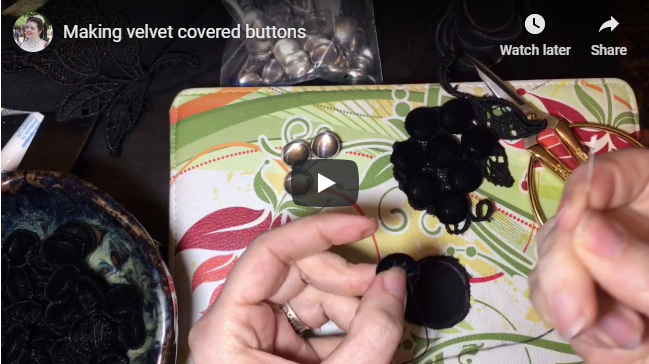
Here is a real-time tutorial on how I make velvet covered buttons.
Making velvet covered buttons is quite different from making covered buttons out of a less thick fabric.
Velvet covered buttons
Velvet is too thick to wrap easily around a blank button form. With regular covered buttons, you can use a small tool and pop the back of the button onto the fabric and front, no problem. When making a velvet covered button the back of the button will not fit. Not even close. Not even if you use a mallet.
Make velvet covered buttons yourself, or buy them?
The answer to this is held in how you will use the buttons. Are the buttons going to be functional, or ever washed or dry cleaned? If so, I recommend purchasing the buttons pre-covered. Etsy is a great resource, and you can get the buttons for as little as 50-60 cents each.
For my black Edwardian gown project I needed 200+ black velvet buttons to look like bunches of grapes. Buying the button blanks and covering them myself cost about $35 instead of $100 plus.
I find that with a regular button cover (unlike the ones with teeth) it is important to sew the gathering stitch in there. It makes it far less likely to shred and have the raw edges stick out. Then if the fabric is thin you are good to go. But not with velvet. It is the thickness of the velvet to blame.
My history with velvet covered buttons
I made a project years ago with cotton velvet covered buttons and it was a big learning curve. First the teeth on the inside didn’t reliably hold the fabric inside the button. Then the button backing would go on, but not stay on. The fabric shredded and fell off after washing on a gentle cycle. My second try was using the running stitch, and that held, with help of the teeth, even after a wash. The backs still fell off.
This is why I now do all the extra stitches to make sure the velvet will stay on, and why I sew the completed button fronts directly onto the fabric. These are non-functional and just made for pretty.