
How to make an 18th Century sun hat from a used straw hat, in pictures.
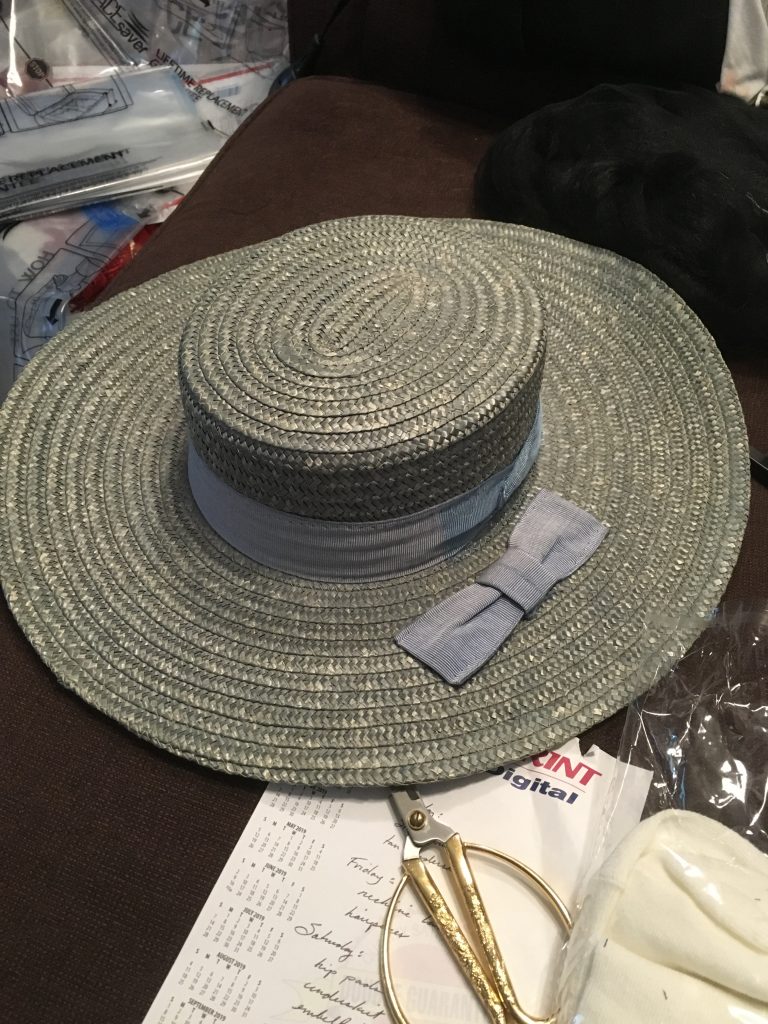
I started with a straw hat from EBay for about $15 including shipping. It was nice to find one in simple real straw and a nice color.
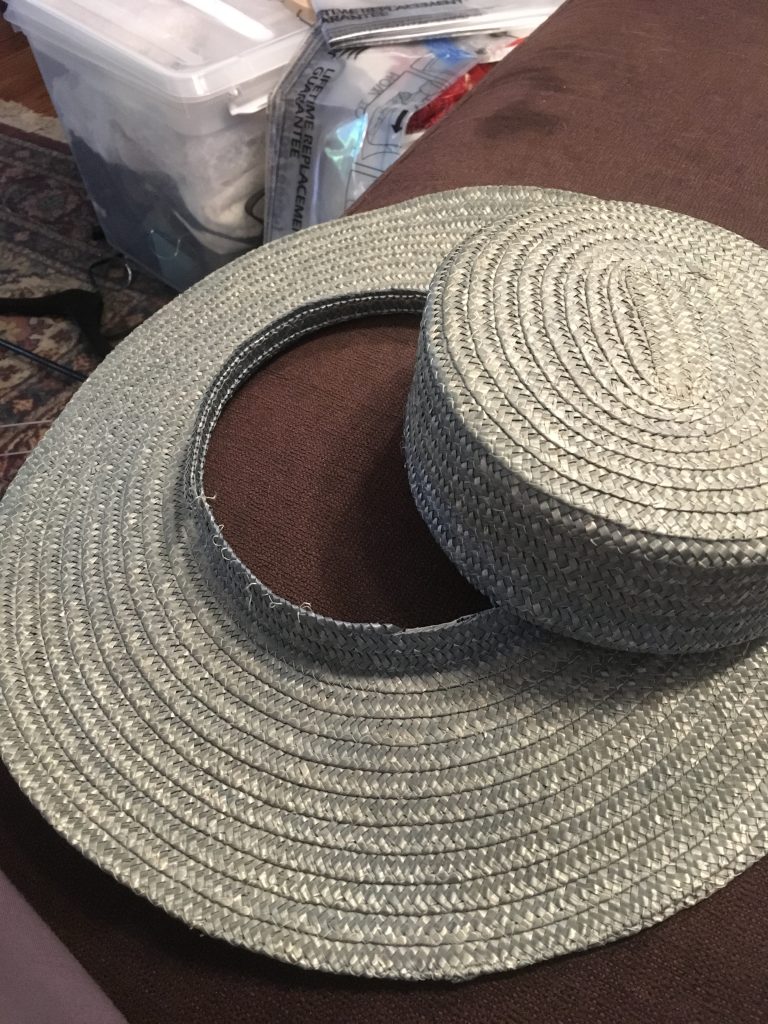
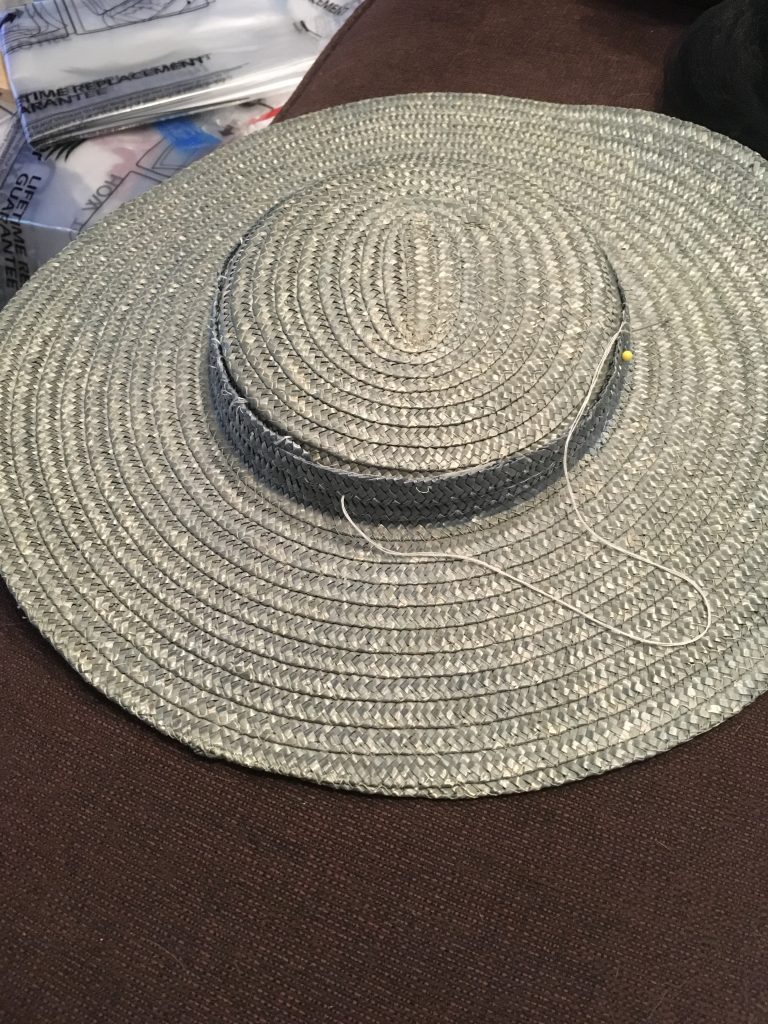
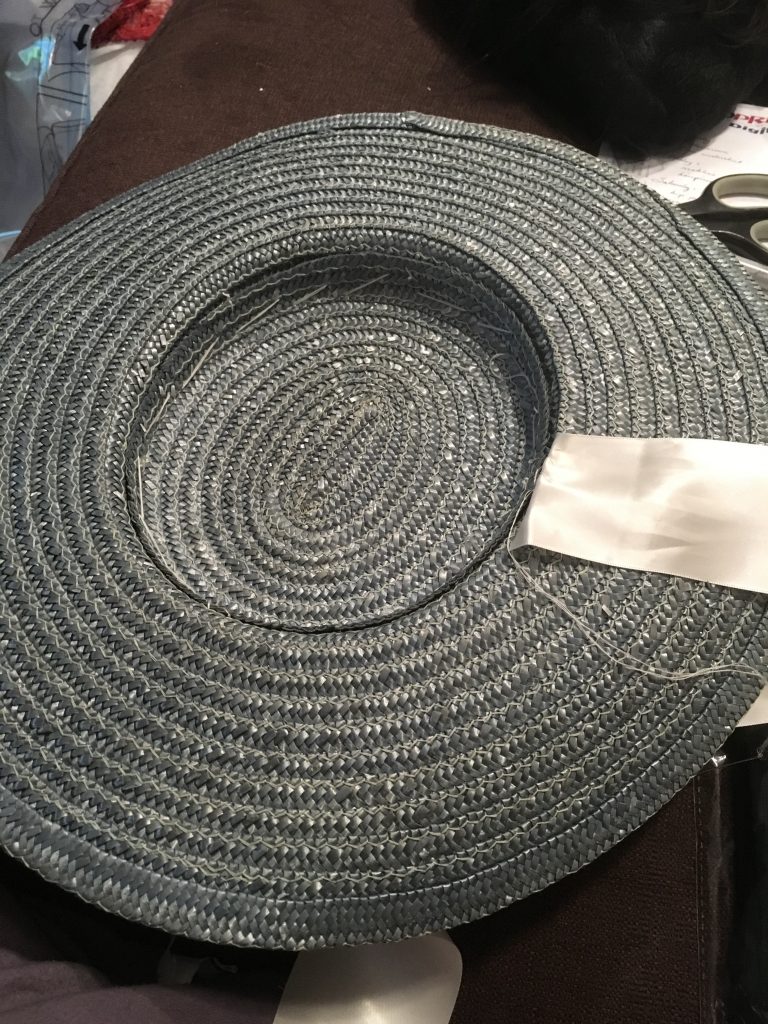
I cut the crown of the hat about an inch up from the brim with sharp scissors.

I cut the top of the hat down about an inch from the top, lowering the height of the hat.
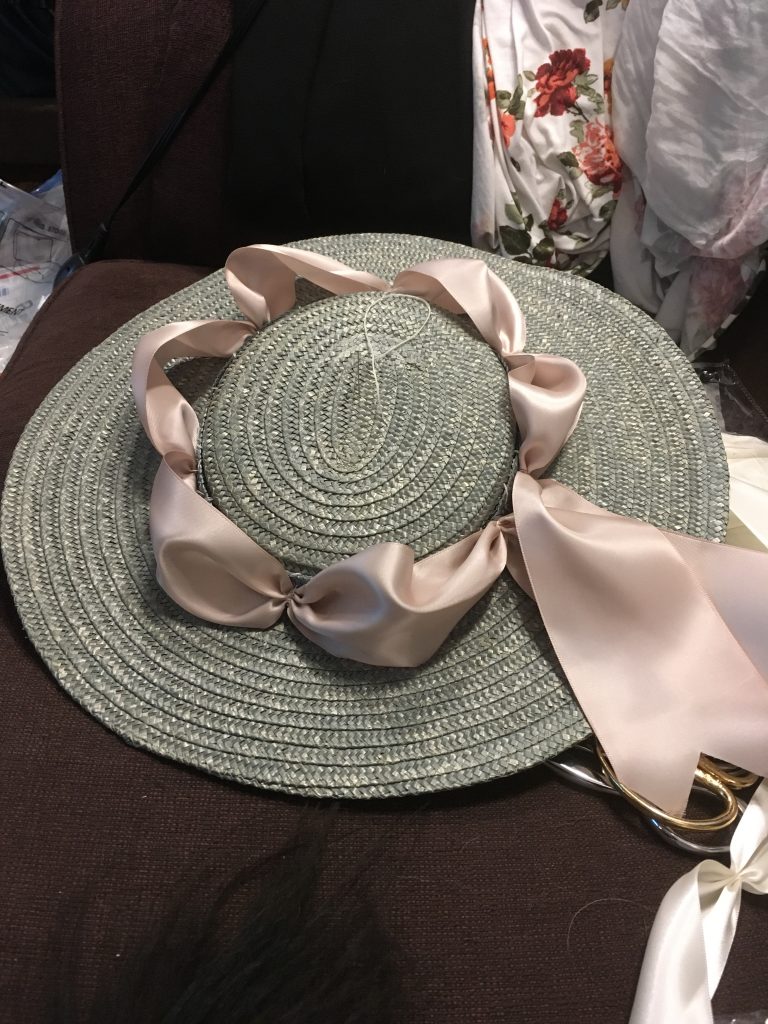
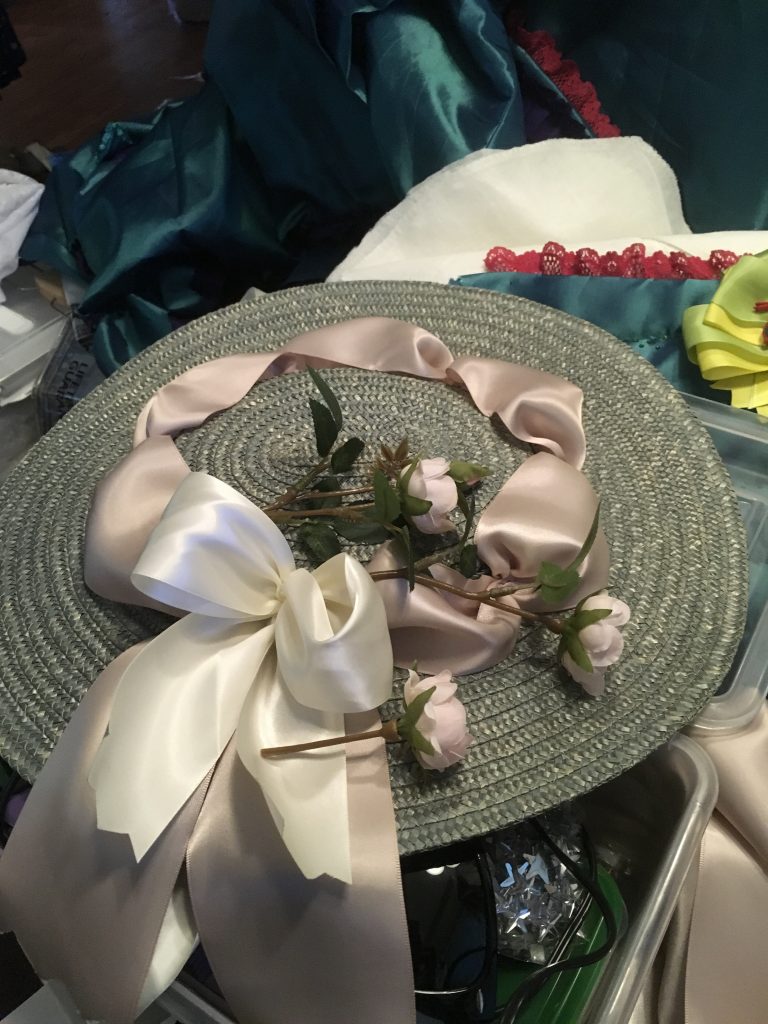
I made the ribbon puffs from 3” wide double-faced satin ribbon. I ran a gathering thread across the ribbon to create the puffs. Each puff is stitched to the hat.
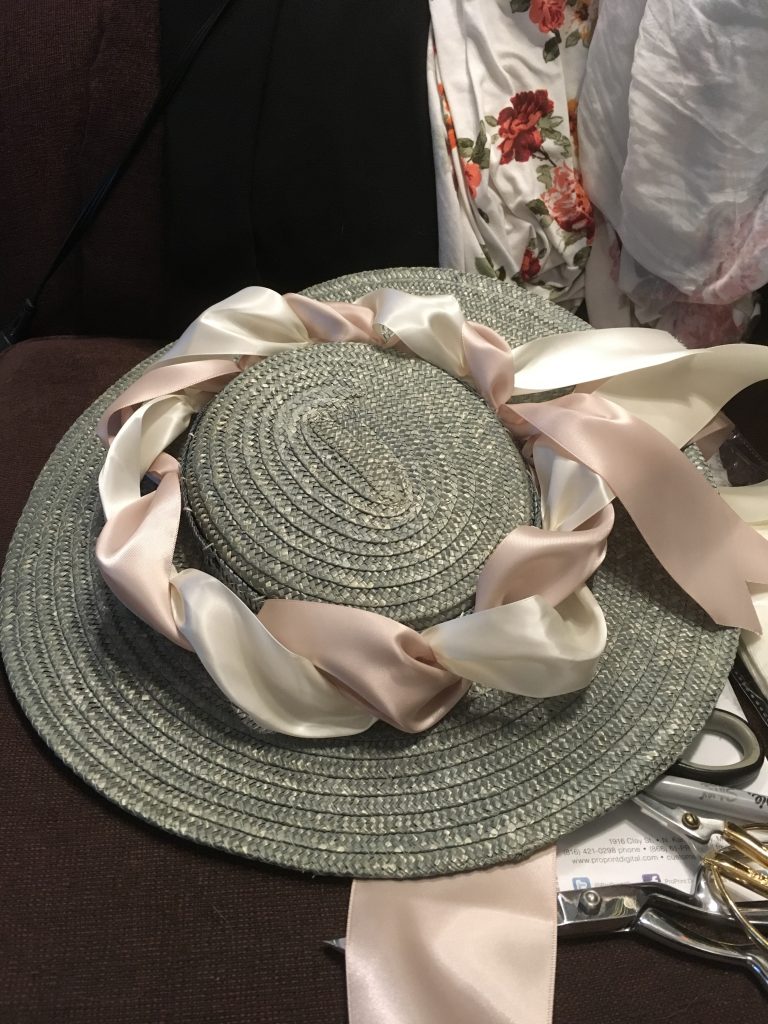
I tried lacing a second satin ribbon through the puffs, but decided to keep this hat simple.
Next are the ribbon ties. These are placed on the inside of the hat, to be tied behind the head. This tie, plus a hat pin kept the hat secure all day.
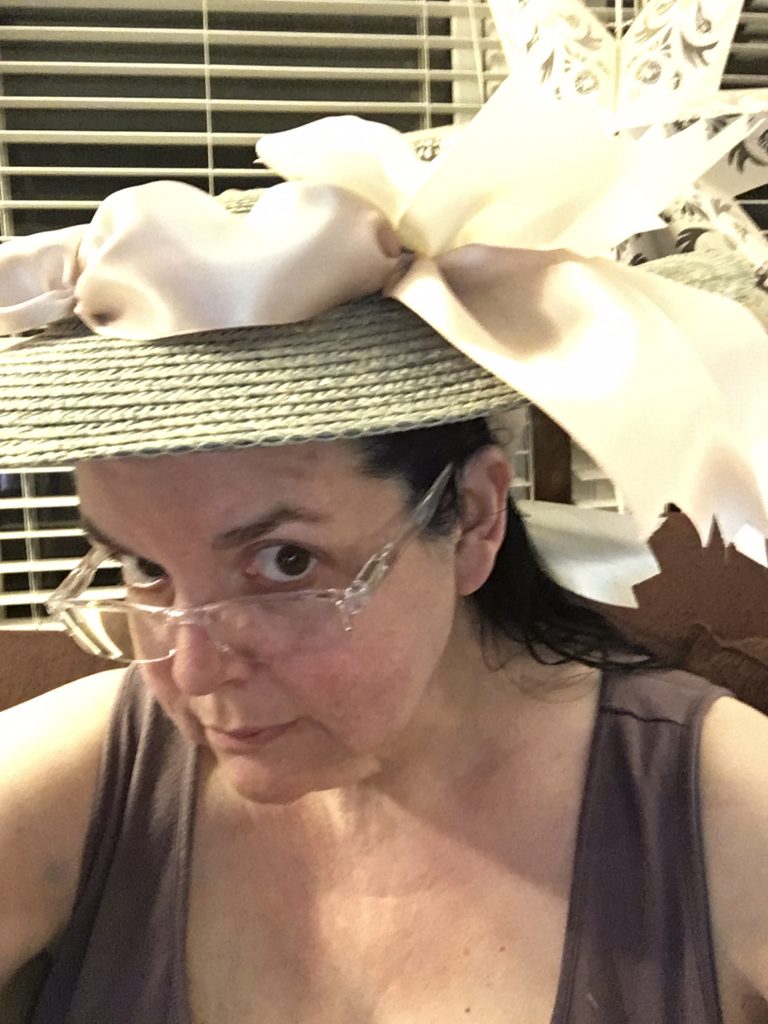
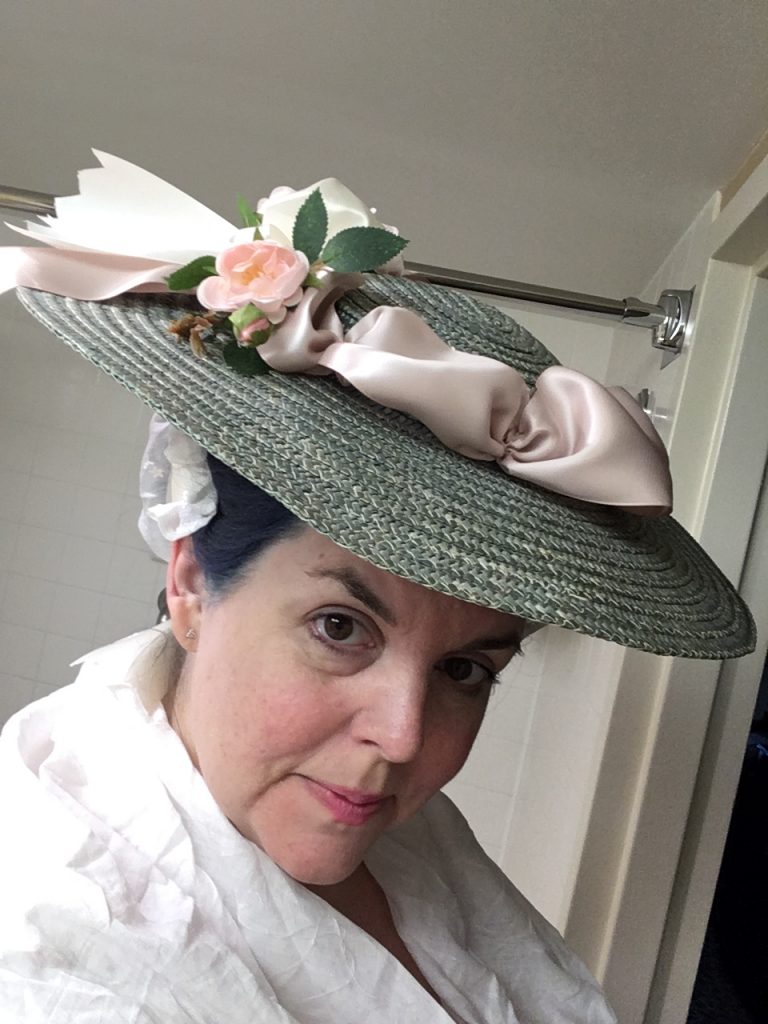
A quick try on of the hat. It looks big without styled hair, but it is a good size for 18th Century.
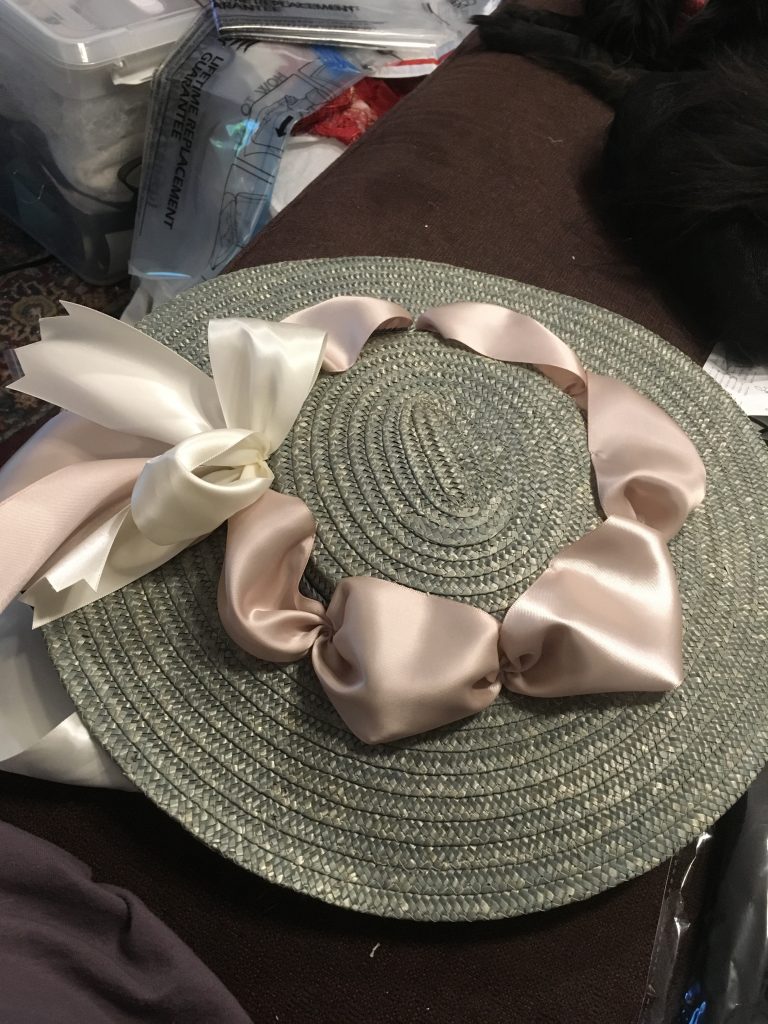
More gathered puffs make a nice ivory bow.
This hat will go with my 18th Century dress made from Ikea duvet fabric. So, I took apart an Ikea faux flower for the hat.
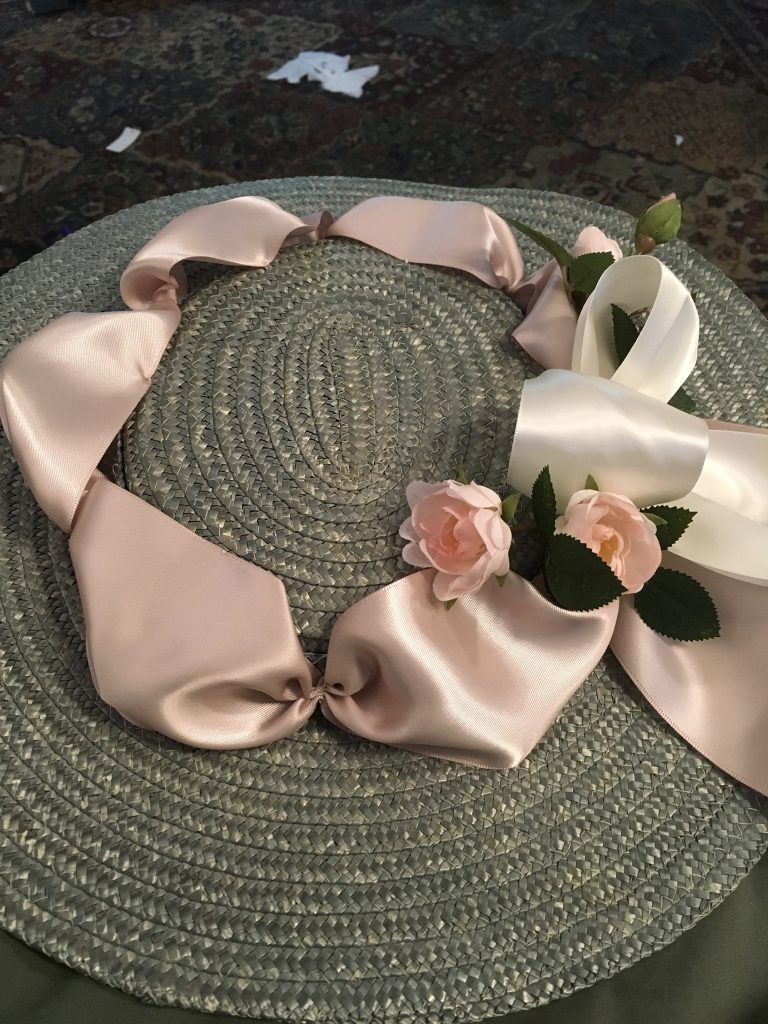
The flowers, sewn on.
Finished hat worn with a cotton cap as part of the finished outfit. I cut zig zags into the edges of the ribbon instead of using pinking shears. The bigger cuts on the ribbon fray less and resemble portraits from the time.
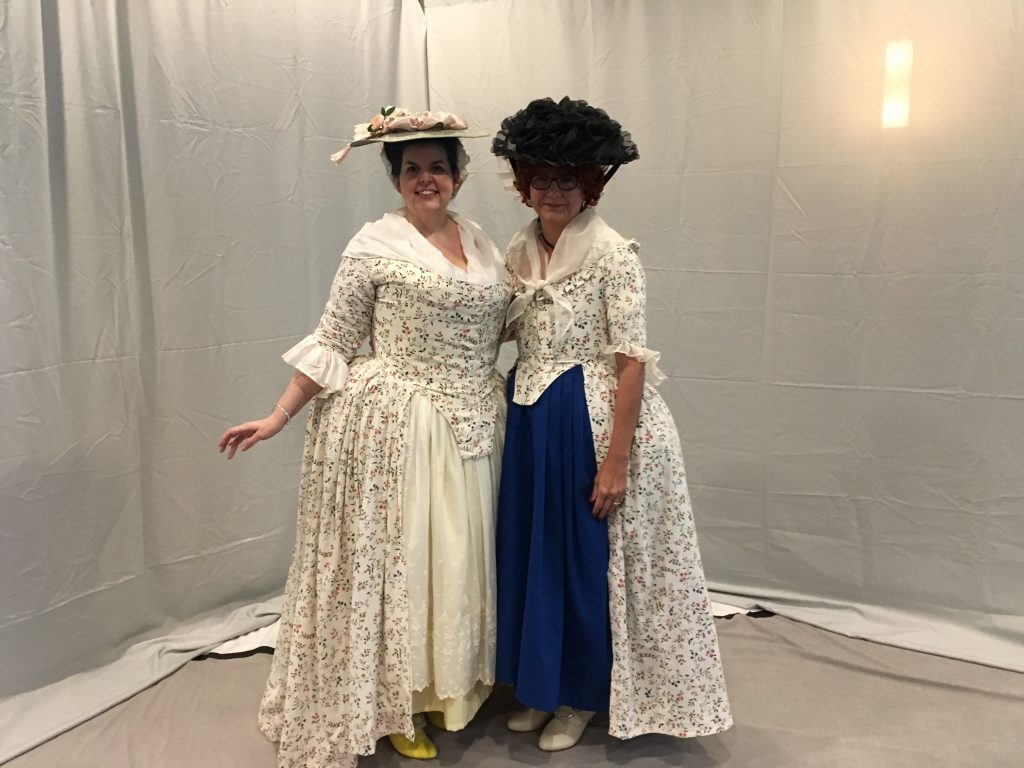
Melissa (right) and I in our IKEA dresses.
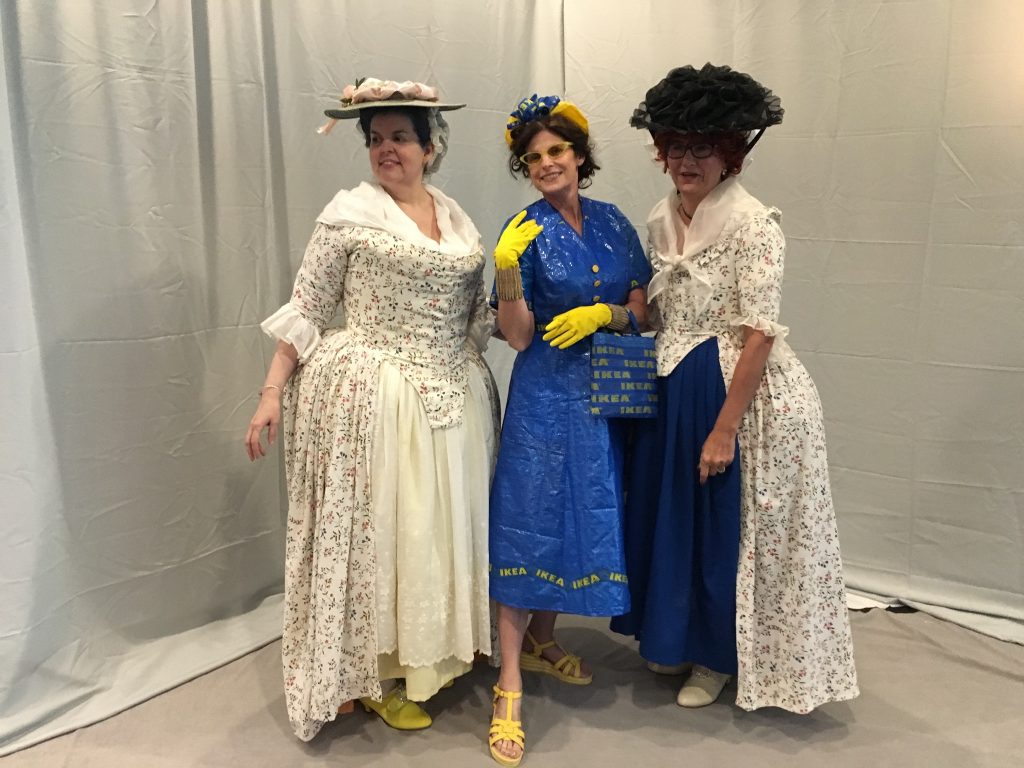
This lovely lady won the day in her dress from IKEA bags!